Monday, August 29, 2011

A Cure for Lost Seam Ripper Syndrome.


This weekend I decided I needed a sewing apron. Mostly because I had this really cute fabric with sewing patterns on it that has been sitting around for a while and I needed to do something with it.


But also because I decided it would be nice to have an apron with generous pockets to wear while sewing to hopefully eliminate Lost Seam Ripper Syndrome.

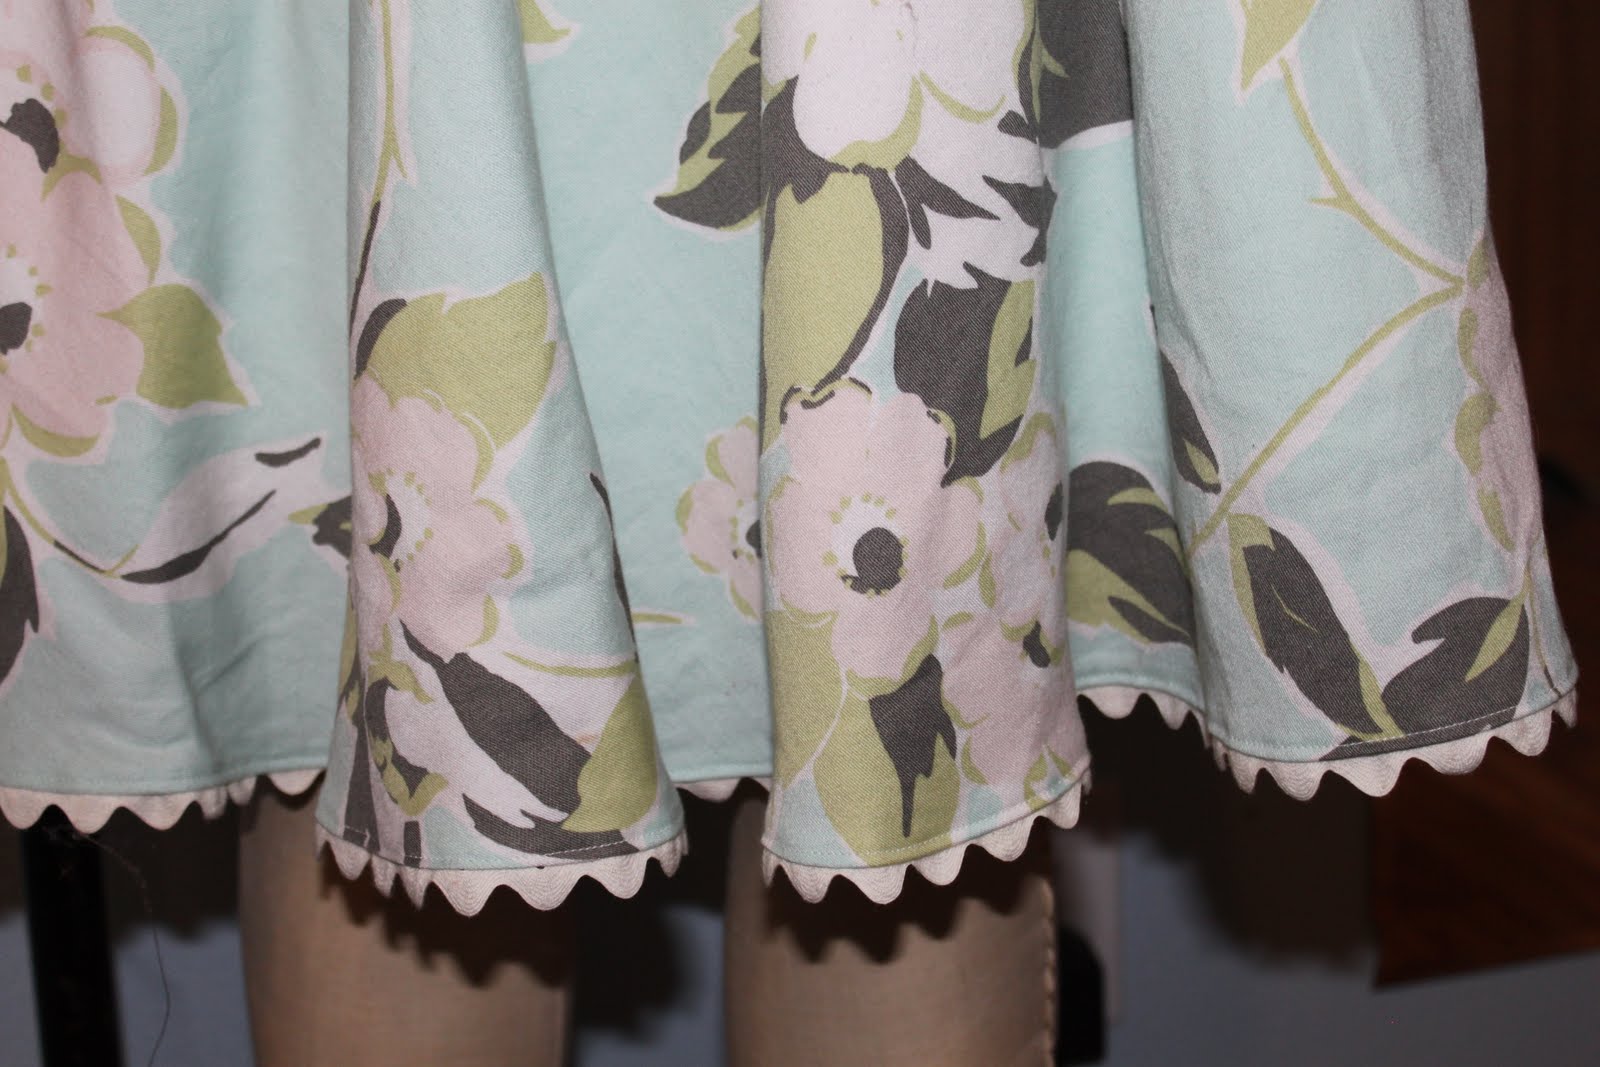
As you can see, the pockets wrap all the way around the apron!


Do you suffer from Lost Seam Ripper Syndrome (LSRS)?

Do you own a dozen seam rippers, yet you can never find one when you need it?
Do you spend at least 5 minutes at a time searching for your seam ripper?
Do your seam rippers always appear in unusual places such as on the floor under your ironing board?

If you answered yes to at least one of the above questions, you may be suffering from Lost Seam Ripper Syndrome.

The good new is, you are not alone and there is hope.
The time to act is now! Ask your sewing instructor about sewing aprons.
Sewing aprons are proven to relieve symptoms of LSRS.
 Sewing Aprons are not intended for everyone. You should not use sewing aprons if you enjoy searching aimlessly for lost seam rippers, are hard of hearing or pregnant.
 Side affects my include increased productivity, reduced frustration, dry mouth and an organized sewing space.

Ask your sewing instructor today if sewing aprons are right for you!

If you decide you will benefit from your very own sewing apron, you can fallow the simple directions below to make your own!

The pattern.

I used a modified version of my wrap skirt pattern. You can find the directions here:
For the front section of the apron, I took a skirt panel pattern and chopped off 5 “ from the hem.


I then moved the grain line, and placed one edge of the pattern to be cut on the fold of the fabric.


To create the back apron pattern, trace the new front panel and cut out.


Use a curved ruler to draw in a pleasing curved edge at the back.


Cut along this line.


You have now created your back pattern piece.
Don't forget to draw in a grain line down the center of the pattern.

To create the pocket pattern pieces, trace the bottom and sides of the back pattern.


Determine how tall you want your pockets to be.  I made mine 10" tall.
Measure and mark this distance from the hem of the pattern all the way across.


When finished you have created the back pocket pattern piece.

Repeat with the front section to create the front pocket pattern piece.
Don't forget to cut the front on the fold!


To create the tie and waistband sections, I cut two strips of fabric 5" wide and as long as the fabric is wide (45" if you are working with most cottons)

Go ahead and cut out the fabric.
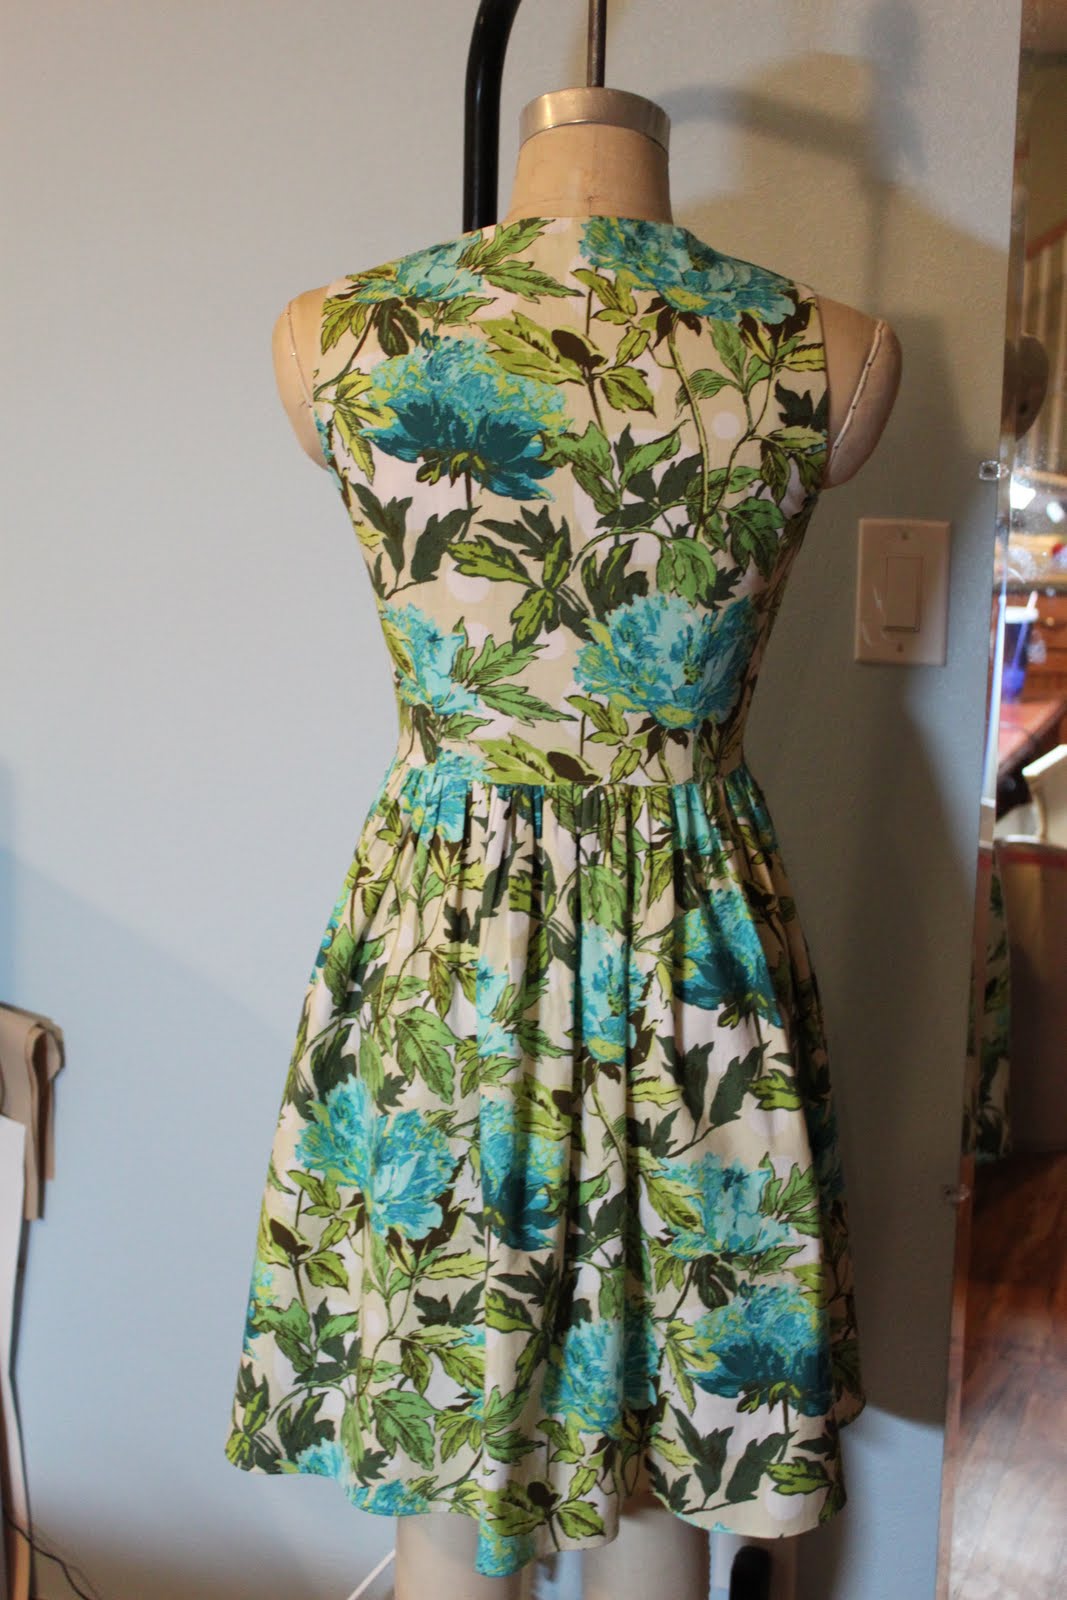
When you are done, it should look something like this:


************I forgot to mention, you should cut 2 of each back section!*************

And that's it for now.
Check back tomorrow for instructions on how to sew this thing!

Happy LSRS recovering
~Melisa & Cordelia


Thursday, August 25, 2011

Fashion Origami


The other day I found this cool little book, Fashion Origami, brought to us by the clever folks at KLUTZ.


Well I just had to have it so I snatched it up, lugged it home, and within minutes had folded up some nifty little paper fashions.

The book has clear, detailed directions on how to fold a little origami dress.


Or you can make a little origami pleated skirt.


But my all time favorite is the origami blouse.

Seriously, how cute is that?
I folded up a bunch of these things, and was presented with a dilemma.

What in the world am I going to do with all these little paper thingies?!?!

So I made a banner.


Cause I have a bit of an obsession.

And then I hung it on my wall.


Cause that’s what you do with banners.
And there you have it, a little paper clothes line!

Happy Folding,
~Melisa & Cordelia


Monday, August 22, 2011

Shower-curtain Sundress


A while back I bought a shower curtain, not because I needed or wanted a shower curtain, but because I fell in love with the fabric.

I brought my shower curtain home and decided to turn it into curtains for my bedroom.


This was a brilliant idea because all I had to do was cut the curtain down to the right side and add a boarder of contrasting fabric to finish off the raw edges. I used the buttonholes that were already there so it turned into a ridiculously easy project.

Well every morning I would wake up and stare at my curtains and think how much I love the fabric. So I went and got another shower curtain and, because I had a wedding to go to, I turned this one into a sundress.


I added a button detail to the center front to add a little interest to the bodice.


Because I just can’t say no to rick rack, I added some to the hem of the skirt.


I wanted the dress to be uber comfy, so I used elastic thread to smock the center back panel of the dress, which helps the strapless dress stay put, but it also lets it stretch out after I’ve eaten three plate fulls of friend chicken.


Just before heading to Indiana for the wedding, I read an article in Threads about a woman who had used her mother’s curtains to make her prom dress. When her date picked her up he exclaimed that her dress looked just like his mother’s curtains! The poor woman was mortified which lead me to question the brilliance of my using shower curtains to make clothes—especially because I purchased the curtain at a popular nation wide store.
What do you think, is this resourceful method for me to find more fabric options, or is it just silly?
I'm not sure on that one, but I did receive a lot of compliments on the dress so I'm going to go with it's a good idea.

Happy Sewing
Melisa & Cordelia


Wednesday, August 10, 2011

The Story of a Wedding Dress


Once upon a time there was a beautiful young maiden who became engaged to a dashing young man.

The maiden was thrilled, especially when she thought of the stunning dress she would get to wear.

But the maiden didn't want just any old dress from David's Bridal.
No, she wanted something special and unique so she got online and did a little searching until she found a skilled seamstress and fashion designer.

The maiden called up the seamstress, and the two women worked together to create a beautiful yet simple dress for the maiden to wear on her big day.


The maiden was having a simple, small outdoor wedding so she opted for a bias cut dress adorned with only a few pieces of lace placed on the right hip and back.


The maiden has a stunning back, so she chose a low cut back with a simple strap detail.


The maiden was extremely enjoyable and such fun to work with that the seamstress included a few hidden details of her own.


For example, she finished the hems of the lining and underlining with a simple bias bound strip cut of the same silk as the dress.


And she created a custom label with the maiden's name and wedding details.


Finally, the seamstress created a unique garment bag for the maiden to keep her dress safe in.

The maiden was ecstatic with her dress and knew she would be breathtaking on her wedding day.

And the seamstress was pleased with her fat bank account.
Oh, and to be able to make the maiden's dreams come true.
And to be able to provide the quality customer service that is sometimes lacking.
But mostly she was pleased by the bank account.

Happy Sewing
~Melisa & Cordelia

Monday, August 8, 2011

A Little Bit of Organization


As my good buddy Rosie has pointed out, I have a little bit of a problem.

I have a tendency to put in a pair of earrings and wear the same earnings for moths without ever changing them.

Why do I do this?

Do I have an utter lack of cute earrings and am compensating my wearing my only cute pair everyday?

Nope.

I just forget to even think about my earrings each morning as I get dressed.

Probably because they are all neatly stored away in one of my cute little earring holder gewgaw thingies so I don’t see them, and thus don’t think about them.

Rosie and I decided I needed to have my earrings on display as loud and vocal reminders that I do in fact have more than one pair of them.

So I went and made an earring holder.

I used this old picture frame I picked up at an antique store about a million years ago.


I just fell in love with the little flowers and had to have it.


Then I took some screen door netting stuff,


And cut it so it was a little bit bigger than my frame.


Finally, I staple gunned it to the back of my picture frame.


And easy peasy I had myself a new earring holder.


The hardest part of the whole project was hanging this thing on my adobe wall without making a mess of my newly panted wall. Scary!

Now I can see all my favorite dangly earrings and am excited to see what affect it has on my morning dressing routine!

Happy Organizing!
~Melisa & Cordelia


Thursday, August 4, 2011

Happy Naional Underwear Day!!!!!

Happy National Underwear Day!!!!!!
Did you know that today, August 4th, is National Underwear Day?
Well now you do.
Aren't you glad you have Cordelia and me in your life to keep you informed of these life altering,important things.

In honor of the momentous event I wanted to show you pictures of underwear, and sweet slips I have made.
But I have no pictures.
Because I have never once in my life made underwear of any kind.
Not a single pair of panties (I hate that word BTW).
Not one slip.
Never once have I made a bra.
But I did once make a dress with a built in bustier.
You can read all about it here if you wish.

So instead I'm going to show you a picture of a corset I made once beck when I was a measly fashion design student.


Somewhere I have better pictures but I can't find them.
 Quite frankly I haven't looked all that hard because if I go looking for them, National Underwear Day will be over by the time they surface.


But I promise it's a very cool corset with lots of still stays (the boning), hand beading, and silk.

Happy Underwear Day!
Melisa & Cordelia

Tuesday, August 2, 2011

Cordelia goes on a not date, date dress


This weekend Cordelia decided she needed a new dress to wear to dinner with Weston. She wanted something cute and sassy, but casual enough to wear on her not date, date.


What?
Can someone please tell me what a not date date is?
Being stuck in the middle of the romantic world of dressforms is like being back in middle school.


Because I have been dreaming of a similar dress I agreed to make it.
 For myself.
With intentions of letting Cordelia borrow it for an evening.
One evening I said and then I wanted the dress back.
But do you think she has given it back?
Not yet!

I used some Amy Butler fabric I had on hand and a modified vintage pattern.


I intended to face the bodice out of the same fabric, but I didn’t have enough so I had to use a contrasting fabric. Oh darn. I hate it when you have to use cute contrasting fabric for facings.


Cordelia wanted somewhere to stash her lip-gloss so added inseam pockets, cause pockets rock my world.
Wait a minute.
Cordelia, why are you using lip-gloss when you have no lips?!


The front of the bodice buttons us and I used some old buttons that came from a jeans factory cause I didn’t want the dress to get too girly.

And there you have it, a cute little summer dress to wear while doing summery things!

Happy Dress Wearing
~Melisa, Cordelia & Weston